LEADS
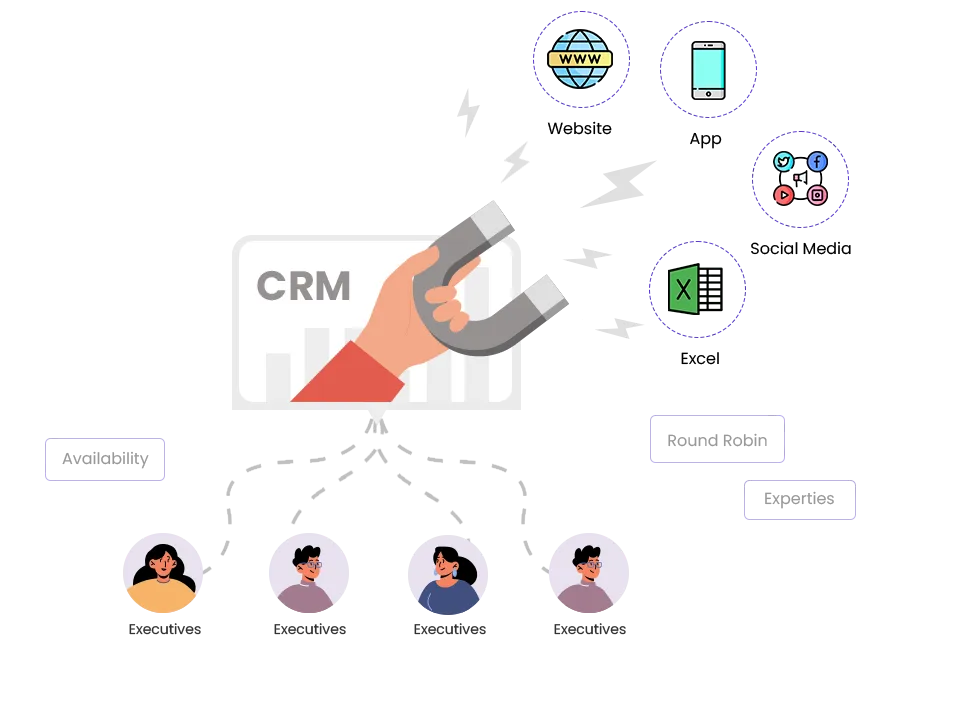
Welcome to the "Managing Leads" module. In this training, you will learn how to effectively manage leads using the features provided in the system. The module covers lead creation, tracking, and various tools for efficient lead management, such as lead creation, lead updating and bulk operations on leads (including lead allocation, tracking, disposition, sending SMS to leads, listing leads, and communication with leads).
Create Lead
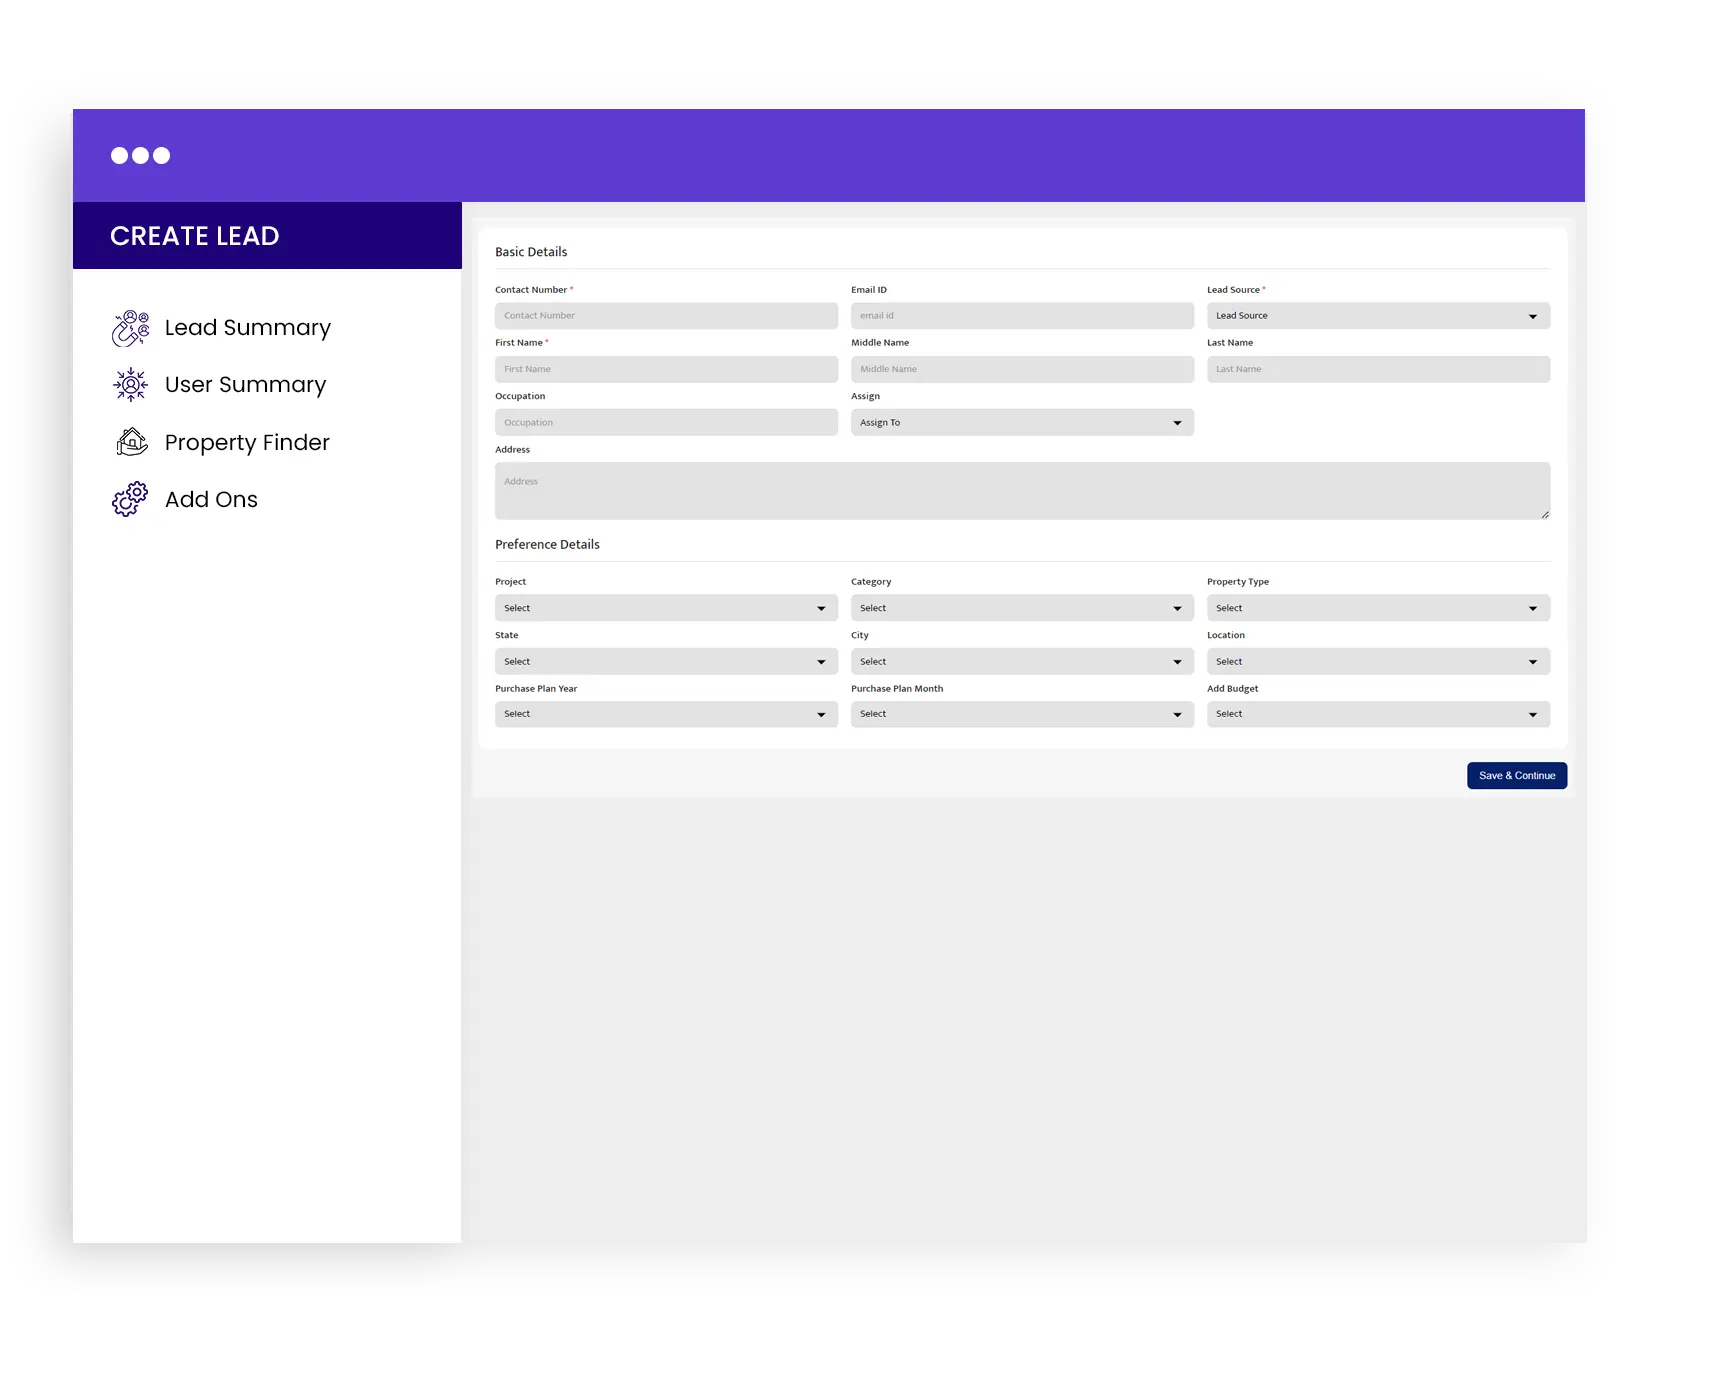
Follow the following steps to create a lead:
Enter Basic Details
- Contact Number
- Email ID
- Lead Source
- First Name
- Middle Name
- Last Name
- Occupation
- Assign To
- Address
Enter Preference Details
- Project Name
- Property Category Name
- Property Type
- State
- City
- Location
- Purchase Plan Year
- Purchase Plan Month
- Add Budget
[ Note: An error message will appear if an existing Lead’s Contact Number is entered.]
Lead Counters
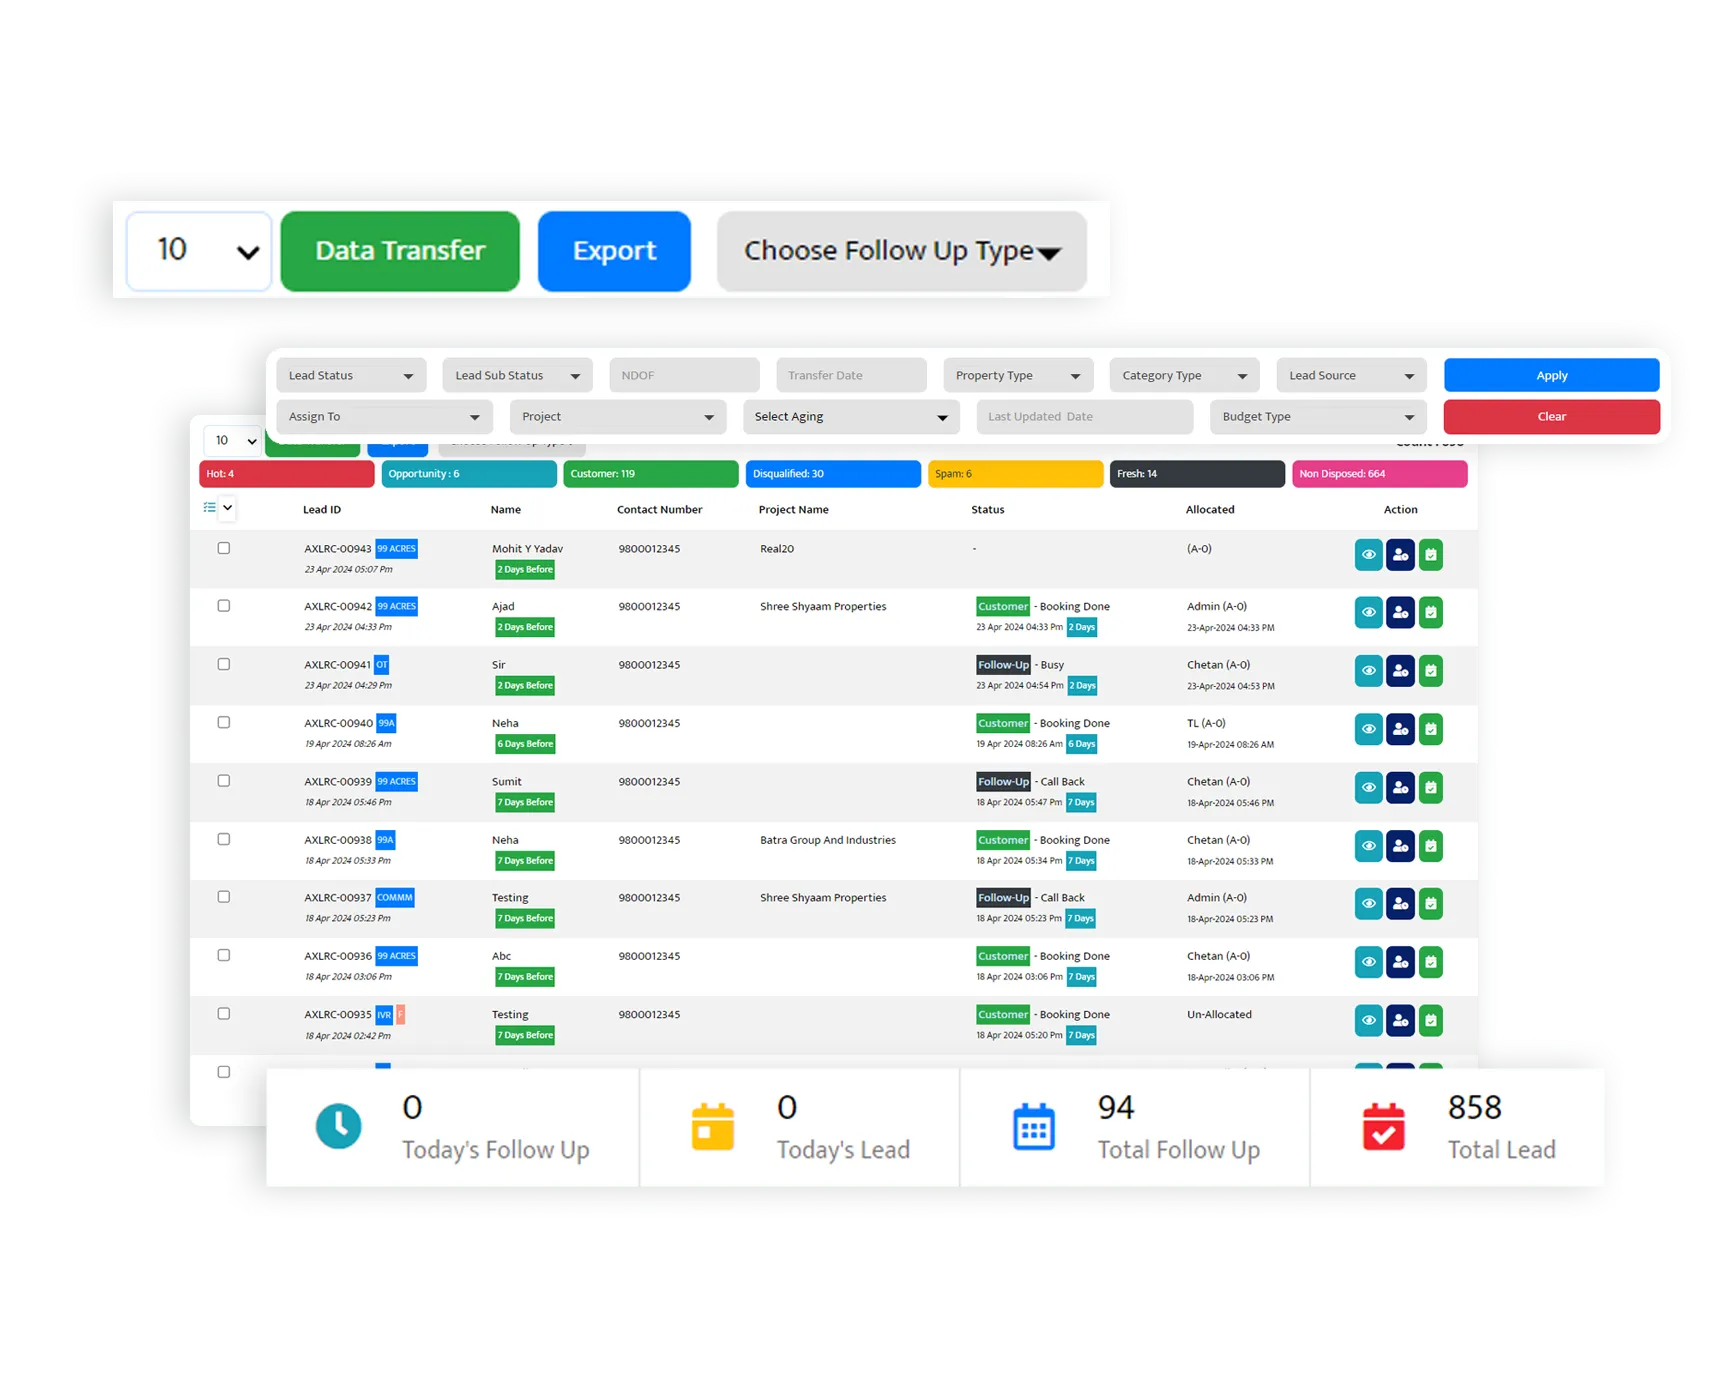
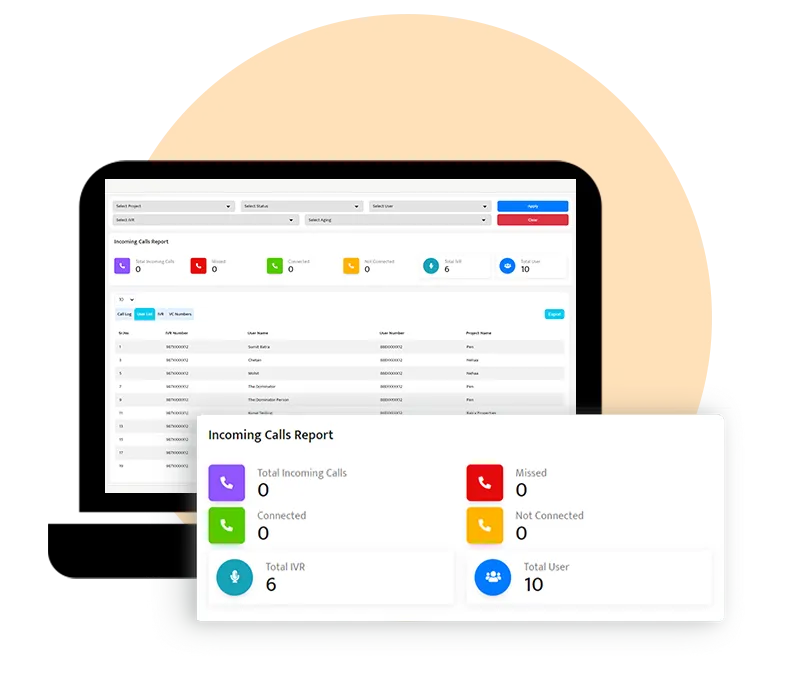
Counters play a pivotal role in providing quick insights into the current status of leads and follow-ups. There are four counters available
Today’s Follow-Up
Provides a list of follow-ups scheduled for the current day.
Today’s Lead
Displays a list of leads generated for the current day.
Total Follow-Up
Shows a comprehensive list of all follow-ups.
Total Lead
Presents a complete list of all leads.
Filters
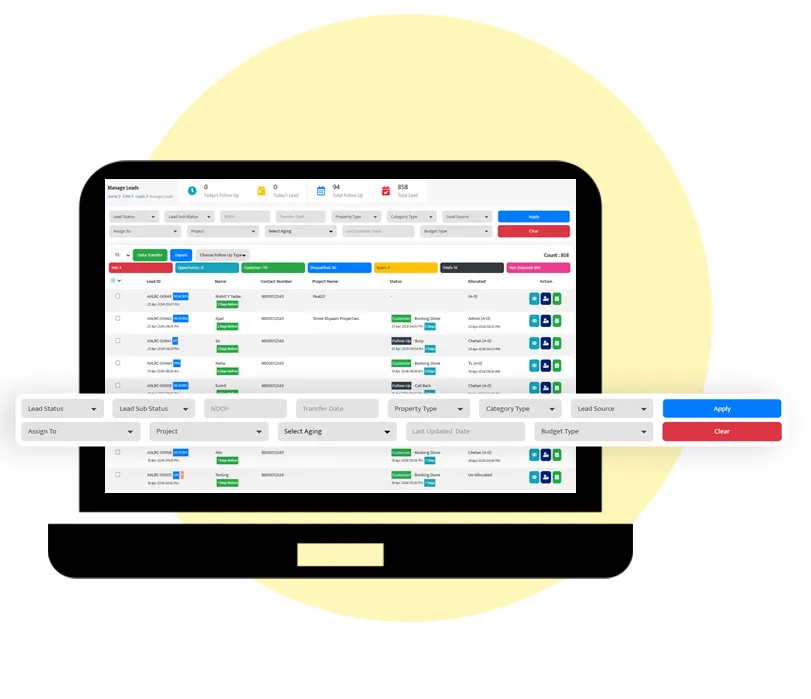
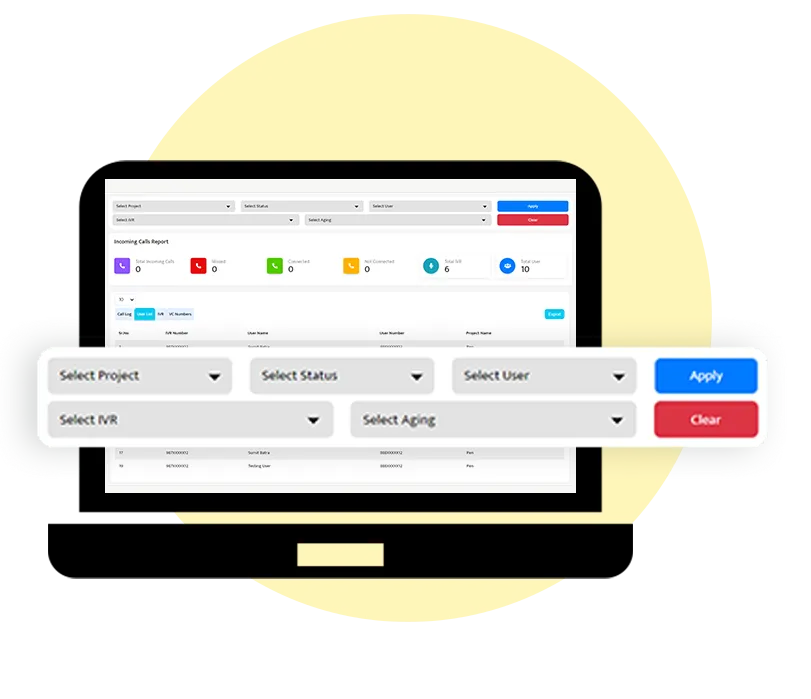
Filters are used to refine the data displayed on the leads dynamically according to your specific requirements. You can utilize filters to focus on specific criteria such as Lead Status, Lead Sub Status, NDOF, Transfer Date, Property Type, Lead Source, Assign To, Project, Select Aging, Last Updated Date and Budget Type.
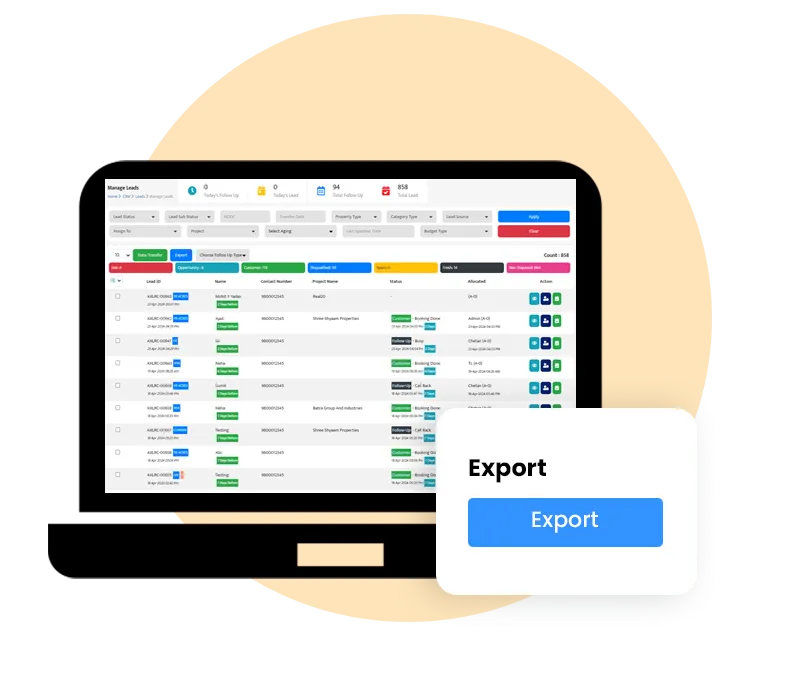
Export
Exporting leads is a crucial feature that enables you to obtain a comprehensive list of all leads stored in the system. This data can be useful for reporting, analysis, or sharing with others. You just need to click on the “Export” button.
Data Transfer
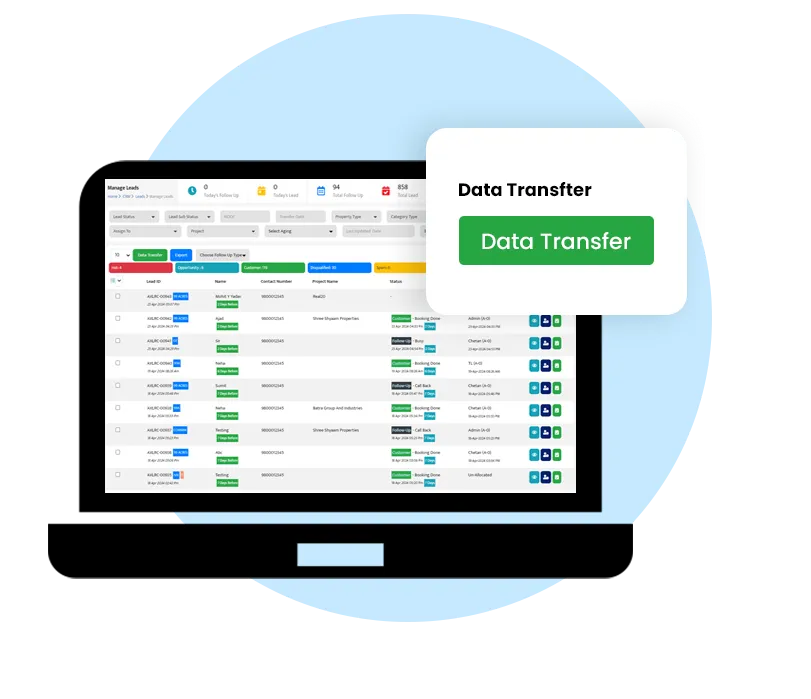
Transfer: Lead data transfer is a crucial functionality that allows for seamless collaboration and reallocation of responsibilities within your team. This feature enables the efficient movement of leads between users. Follow the following steps:
- click on the “Transfer” button and fill in some details.
- Transfer lead data from one or multiple users to another user and write a description.

Bulk Operations
Bulk operations refer to the ability to perform actions or tasks on multiple items simultaneously within a system or application. Instead of individually processing each item one by one, bulk operations allow users to execute actions in bulk, saving time and effort.
Bulk Assign
Bulk SMS
Bulk Disposition
Bulk Leads Update
List View
View Lead
Bulk Assign
Bulk Assign allows you to transfer or allocate multiple leads to a selected user with the option to add a description.
Follow the following steps:
- Select the leads you want to assign.
- Navigate to the Bulk Assign section within the Leads module.
- Select the operation (Assign or Transfer).
- Choose the target user for the assignment.
- Optionally, describe the reference.
- Confirm the bulk assign operation.

Bulk SMS
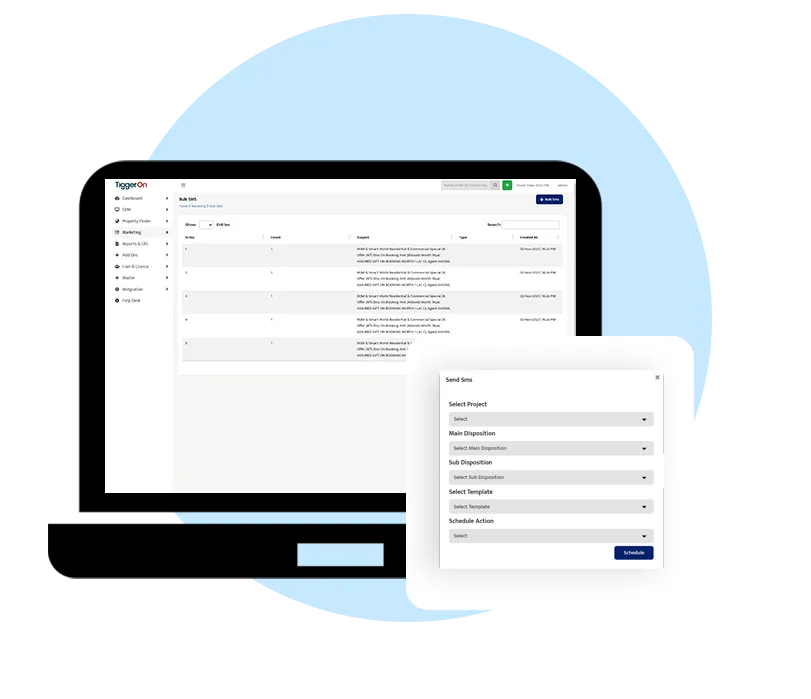
Bulk SMS enables you to send predefined SMS templates to a selected group of leads. Follow the following steps:
- Choose the leads to receive the SMS.
- Access the Bulk SMS feature in the Leads module.
- Select the SMS template from the available options.
- Confirm the bulk SMS operation.
Bulk Disposition
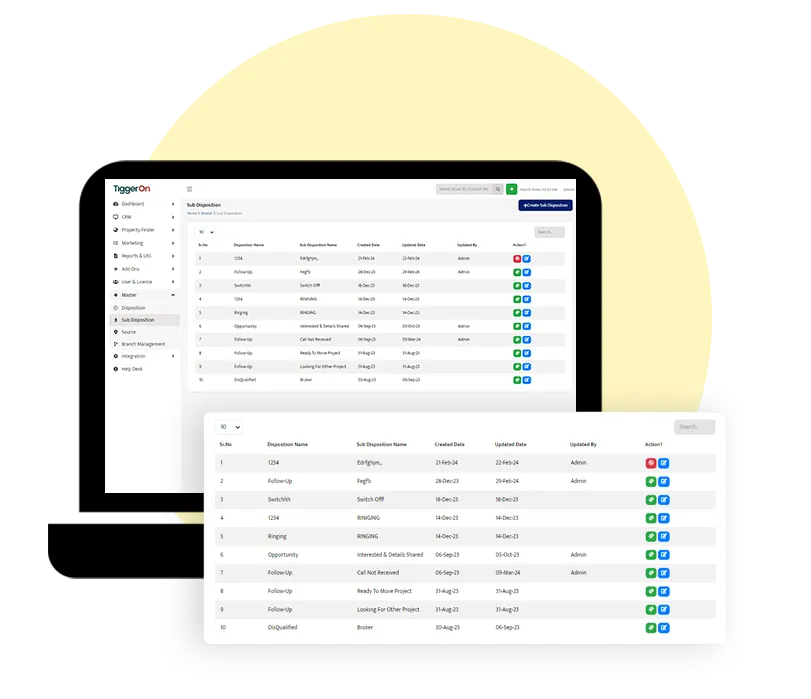
Bulk Disposition allows for the disposal of multiple leads simultaneously by selecting Main Disposition, Sub Disposition, Initiated By, and Remark. Follow the following steps:
- Select the leads you want to dispose of.
- Navigate to the Bulk Disposition section within the Leads module.
- Choose the Main Disposition and Sub Disposition.
- Specify the initiator and add a remark if required.
- Confirm the bulk disposition operation.
Bulk Leads Update
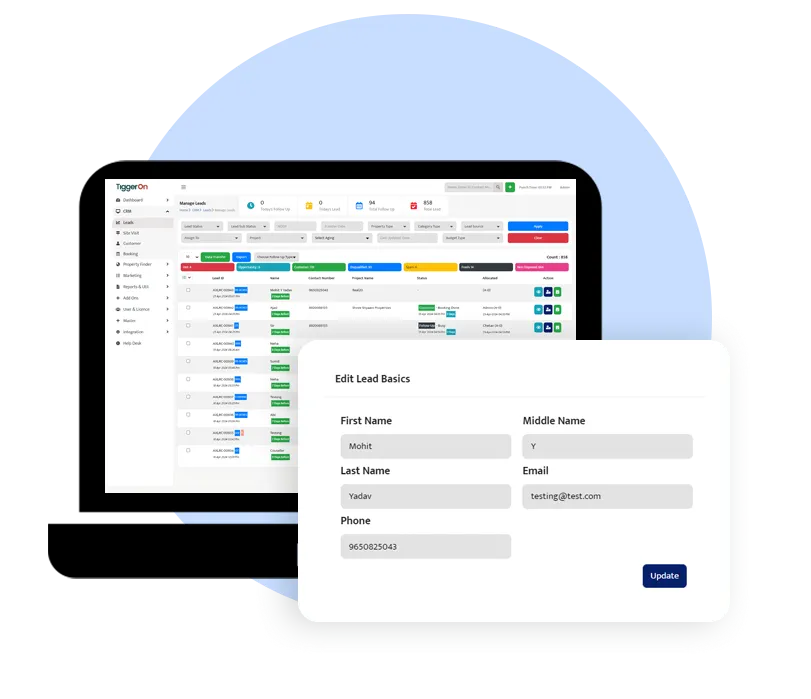
Bulk Leads Update facilitates the simultaneous update of multiple leads by selecting Project Name and Source Name. Follow the following steps:
- Select the leads you want to update.
- Select the leads you want to update.
- Select the leads you want to update.
- Choose the new Project Name and Source Name.
- Confirm the bulk leads update operation.
List View
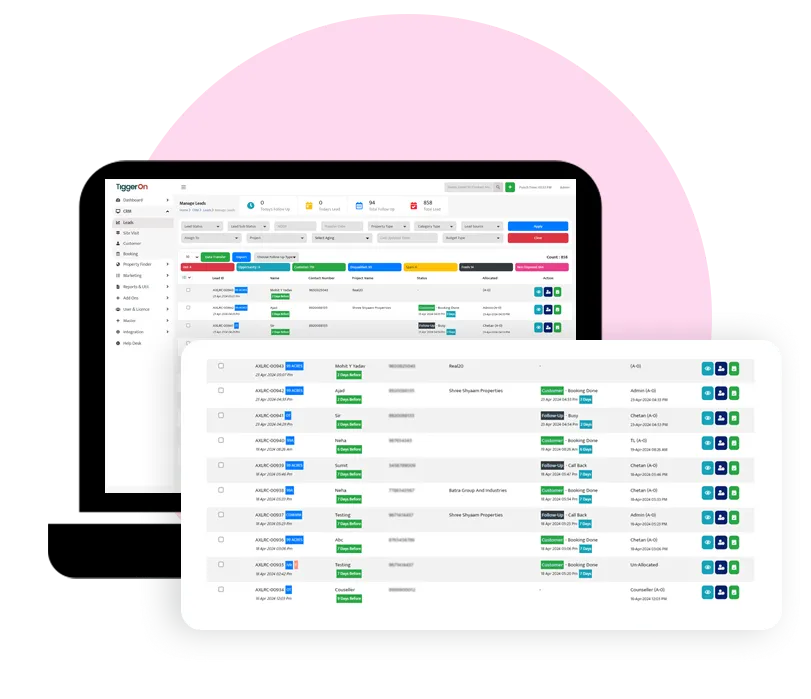
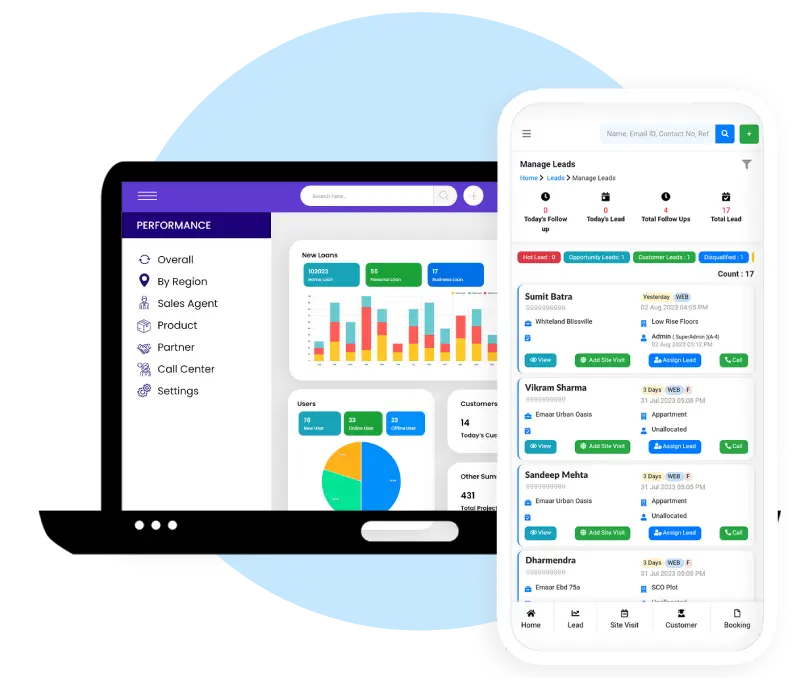
View lead details including Display Lead ID, Lead Name, Contact Number, Project Name, Status, Allocated To, Action Buttons and various bulk operation options such as Bulk Assign, Bulk SMS, Bulk Disposition, Bulk Leads Update.
View Lead
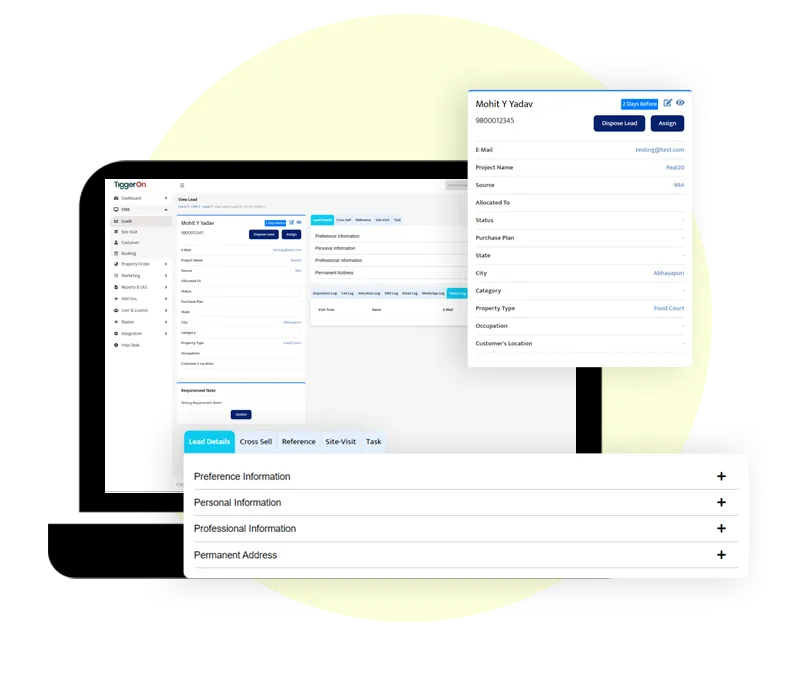
You can view the lead details & edit too. In this section, you can access a detailed overview of the lead's information, providing a comprehensive view of their profile including detailed view of Lead Information, Edit Lead Basics, View Personal Information, Dispose Lead, Re-assign Lead, Requirement Note, View & Edit Lead Details such as Preference Information, Personal Information, Professional Information, Permanent Address, Cross Sell, Reference, Site Visit, Tasks, Booking, Communication Options, Logs of Disposition Log, Call Log, Allocation Log, SMS Log, Email Log, WhatsApp Log, Visitor Log.
Actionable Features in the View Lead Section
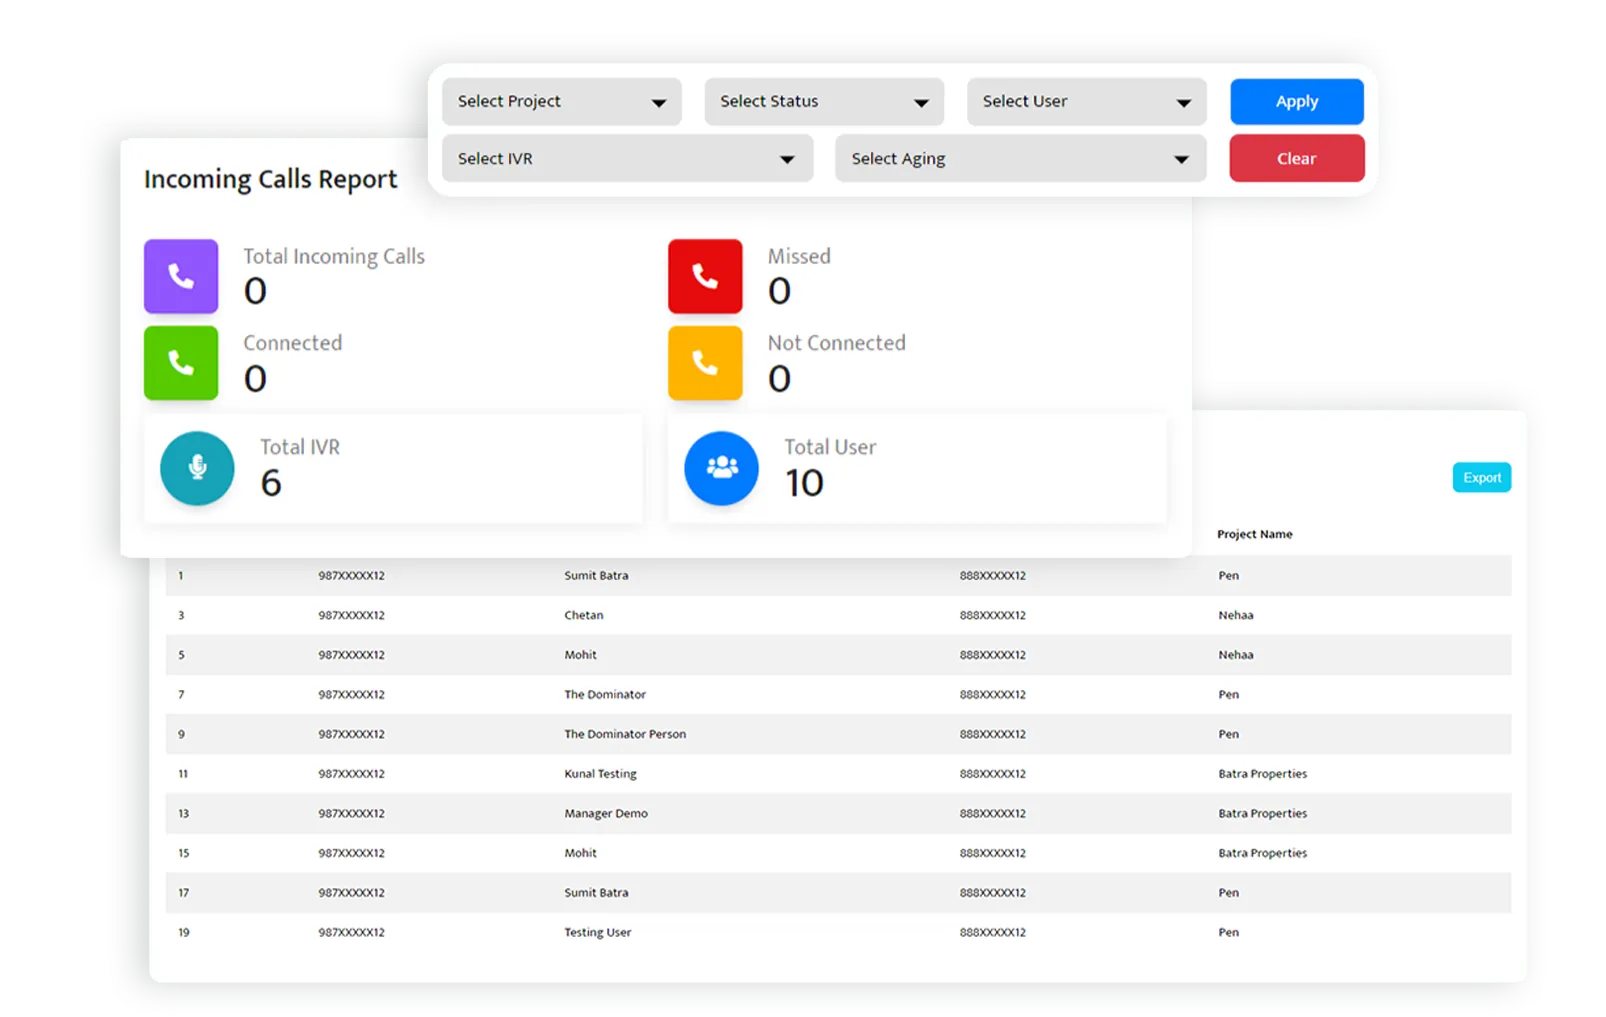
In this section, we will explore the various advanced features available in the View Lead section, providing you with tools for efficient lead management and communication.
Dispose of Lead
Re-Assign Lead
Requirement Note
Communication Options
Logs
Conclusion
Dispose of Lead
Disposing of a lead typically involves indicating the outcome or status of the lead based on the interactions and decisions made during the lead management process. Dispose of a lead by selecting Main Disposition, Sub Disposition, Initiated By, and writing a remark.
Follow the following steps:
- Navigate to the View Lead section.
- Click on the "Dispose Lead" option.
- Select the appropriate Main Disposition and Sub Disposition.
- Choose the initiator (Initiated By) and provide a remark if necessary.
- Confirm the lead disposal.
Re-Assign Lead
Reassign a lead to another user within the system.
Follow the following steps:
- Access the View Lead section.
- Click on the "Re-Assign Lead" option.
- Choose the new user to whom the lead will be reassigned.
- Optionally, provide a reason or description for the reassignment.
- Confirm the lead reassignment.
Requirement Note
Add a note specifying the requirements associated with a particular lead. Follow the following steps:
- Navigate to the View Lead section.
- Locate the "Requirement Note" feature.
- Enter relevant details and requirements associated with the lead.
- Save or confirm the note.

Communication Options
Communicate with the lead using various options such as calling, editing before a call, sending an email, SMS, or WhatsApp message.
Follow the following steps:
- Access the Communication Options within the View Lead section.
- Choose the desired communication method (Call, Send Email, Send SMS, Send WhatsApp Message).
- The option "Edit Before Call" typically refers to the ability to modify or customize the calling number or caller ID before initiating a phone call.
- Follow the prompts or interfaces to complete the chosen communication.
Logs
Track and review various logs related to the lead, including Disposition Log, Call Log, Allocation Log, SMS Log, Email Log, WhatsApp Log, and Visitor Log.
- Explore the Logs section within the View Lead interface.
- Review the specific log types to gain insights into the lead's history and interactions.


Conclusion
By the end of this training module, you will have a comprehensive understanding of the lead management system and be equipped with the skills to efficiently create, track, and manage leads using the provided features. Good luck!
Ask about TiggerOn products, pricing, implementation, or anything else. Our highly trained reps are standing by, ready to help.

